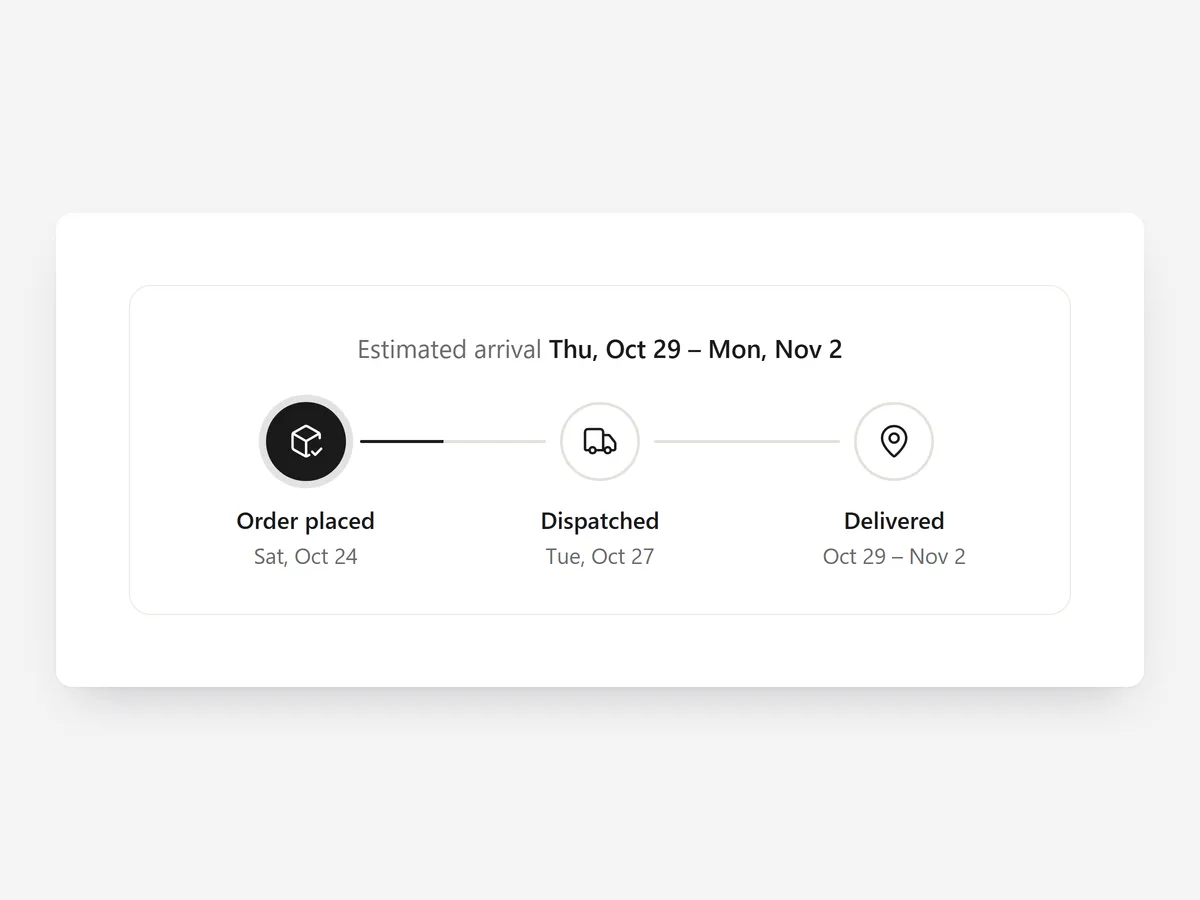
"Delivery in 3-5 days" makes the shopper do the maths. A timeline with real dates answers the question they actually have: will it arrive by Friday?
Why it matters
Shoppers buying for a date, such as a birthday, a trip or an event, need a concrete arrival day. A range of days forces them to count weekends themselves, and uncertainty is a common reason to put off a purchase.
A timeline also shows what happens between click and doorstep. Seeing order, dispatch and delivery as separate steps makes the process feel organised and sets clear expectations.
What the section does
Delivery Timeline lays out the three stages with calculated dates on product and cart pages. Choose Delivery Information when you want a stock status and cut-off countdown, and this section when the arrival date matters most.
- 01Show the steps as icons on a line or as minimal dots, depending on how much space you have.
- 02Dates are calculated automatically from today, so the timeline is always current.
- 03Only business days are counted, so weekends never produce a wrong estimate.
- 04An estimated arrival header states the expected date before the details.
Where to place it and what to write
On product pages, place it below the add-to-cart button. In the cart, a compact dots version above the checkout button reassures shoppers before payment.
- 01Label the steps plainly: "Ordered", "Shipped", "Delivered".
- 02Base processing and transit times on your carrier's real performance.
- 03Phrase the header as an estimate, such as "Estimated arrival".
Set it up in three steps
Afterwards, check that the previewed dates skip weekends, and view the mobile preview. Confirm the theme font. Speed is unaffected, because the block renders plain HTML and CSS.
- 01Open Delivery Timeline in Section Store, set processing and transit days and choose line or dots in the visual builder.
- 02Click Theme blocks, then Add to theme; the theme editor opens with the block already placed.
- 03Position it below the buy button and save.
Conclusion
Concrete dates on a simple line turn a vague shipping promise into a plan the shopper can rely on. The Delivery Timeline section is a one-time purchase of $14.99 in Section Store, or part of the Enterprise Plan.
Key takeaways
- 01Show real dates instead of a range of days.
- 02Count business days only, so weekends do not mislead.
- 03Use realistic processing and transit times.
Explore more